Genoförda projekt 2.
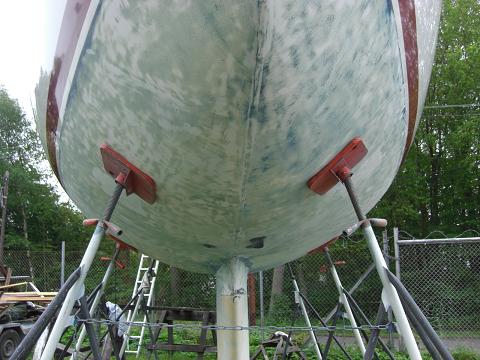
1. Sandblästring och epoxybehandling 2007:
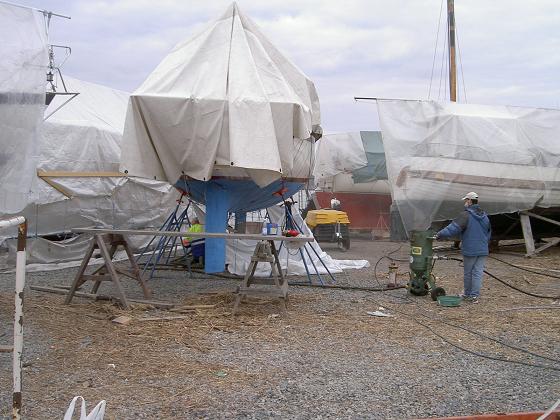
Today me and another guy at the warf, Andrew Boddy, sandblasted our keels. We rented the equipment from Allblästring AB situated 10 km south of stockholm, Allblästring I can really recomend them. Nice guys.
Here is a Crazy dude!!

Crazy dude at work..
The result..
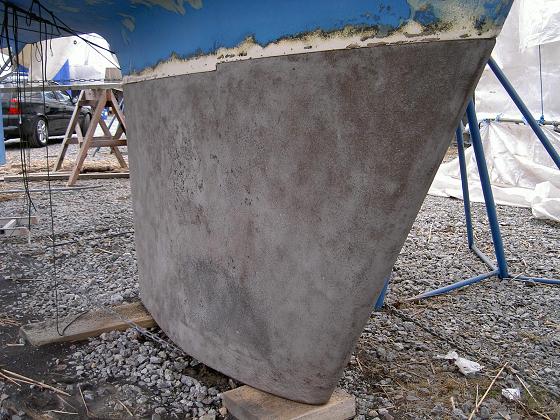
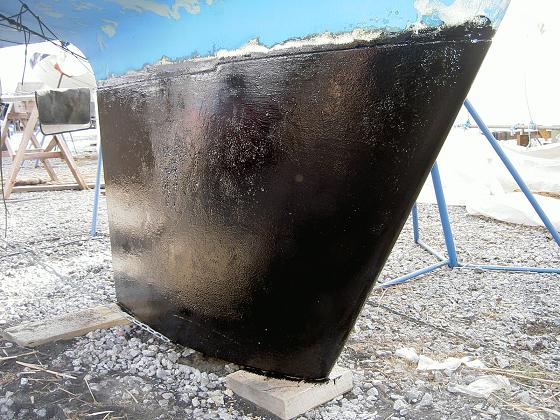
And with one layer of two-component epoxy, 3-4 more layers to come soon.
.
2008-05
So, finaly finding the time, and strength :) to take about the hull, this was a real bone breaker, grinding with 80 ad 180 grade, now its time for a couple of epoxy layer.
So, 3 layer on the hull and a total of 6 layer on the keel. I still have 8-9 litre of epoxy left, it will be painted later, most likely spring 2010.

2.Ny Durk 2007
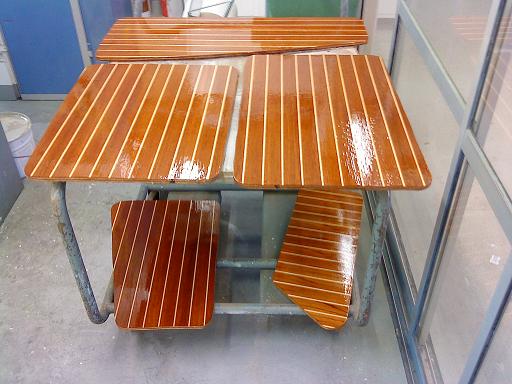
So I have to re-open this project, the floor are going to get its second and third layer of varnish. This is done at my work, we have a really nice working area for this purpose ![]()
Inserting a couple of pictures when they have go their second layer, when this is dry I ill sand paper them and then the third layer is coming, I am using Beckers Båtfernissa Extra Glossy
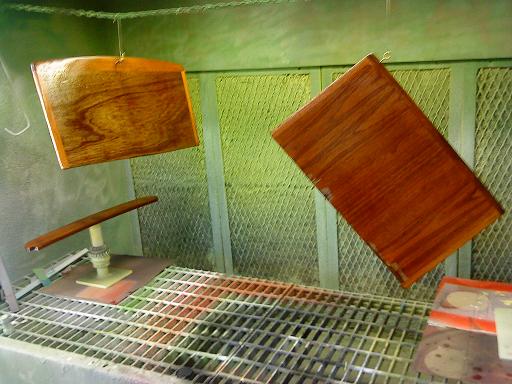
I will grind these again with water and Abralon 1000 grade in the spring.
Okay, these are not part of the floor but they still got varnished ![]()
Stockholm 2007-05-29
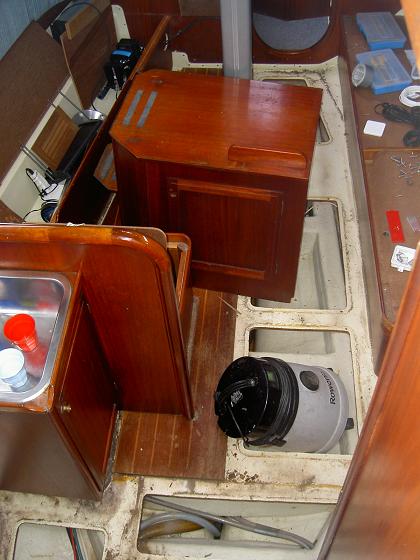
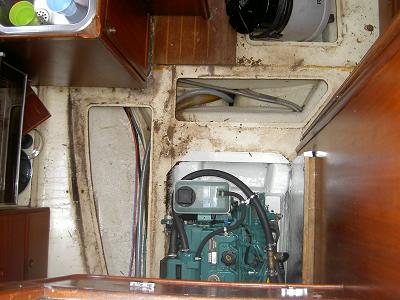
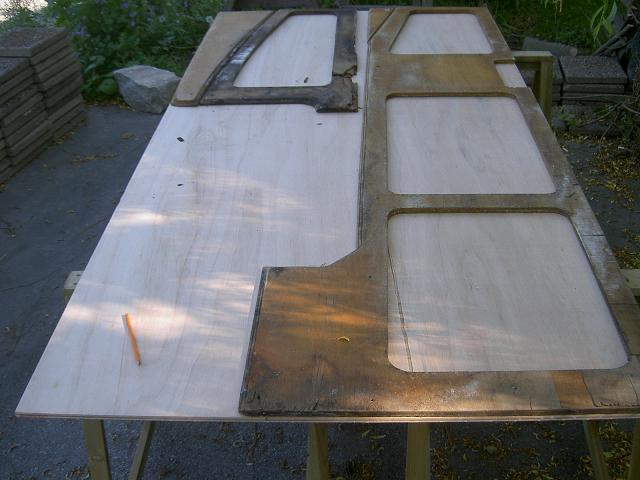
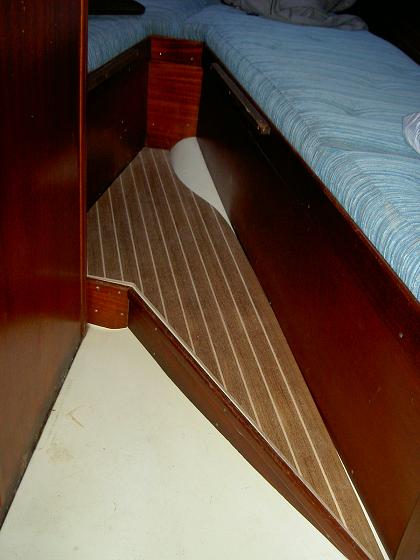
Yesturday I curiously started to un-screw and lift some of the floor-panels.
My early opinion about this "upgrade" was that it would be a very tough job since I thought that most of the interior was standing ontop of it. But to my surprise only the floor-panel most to the port below the cabin-table was obstructed by the interior.
So after 10 minutes I have removed three large and two small floor-panels. Only one larger floor-panel remaining. I think that I have to lift the mast in order to be able to "slide" this remaining floor-panel out of its slot. Sliding it to the right.
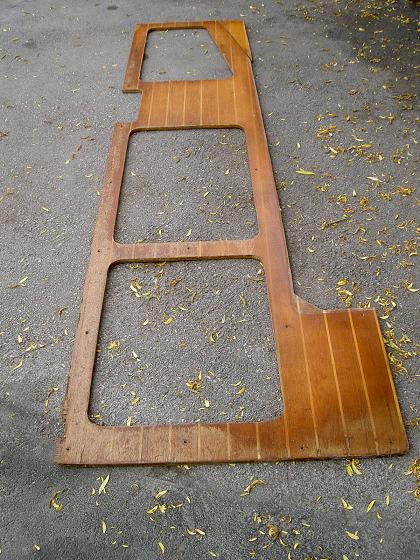
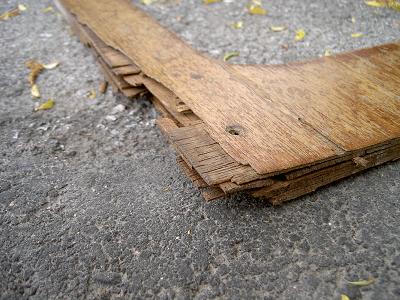
The floor-panel is made of a 1.5 cm thick and 240 cm long material teak/koto fanér. Buying this material is probably best/sheapest at erlandson-trade, one 242x122 cm panel will cost 2238 SEK ( 325 USD).
I will today continue the work (cleaning the area and see about the remaining floor-panel) and take a number of pics.
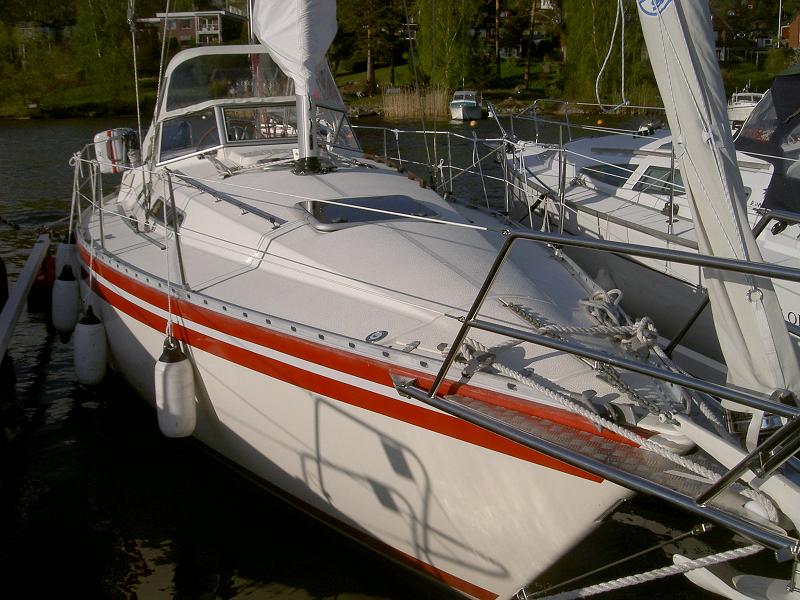
And here are some pics of the "beauty".
2007-06-02
Today I really got things going, replacing the floor was more fun that I could imagine. Here are some pics.
When all is done I will paint the varnish.

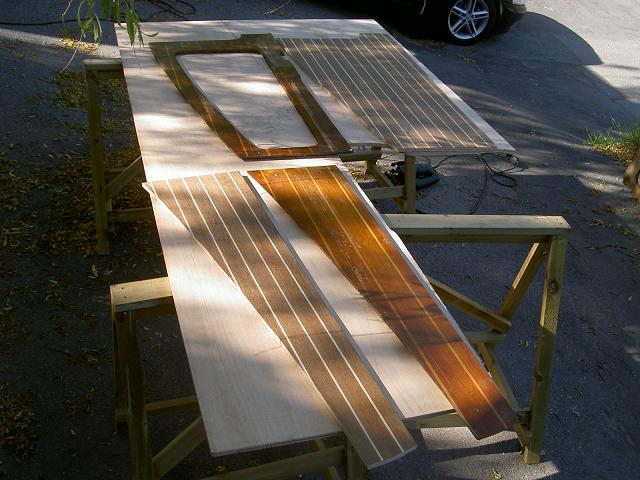
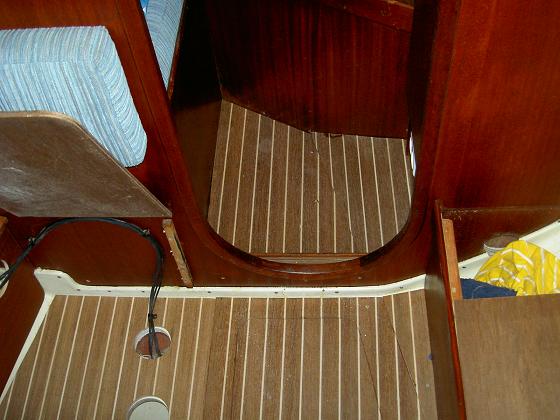
Maybe you can see the all new floor installed in the forward perth, its great fun.

In order to install the port floor-panel I have to lift the mast 3-4 feet.
2007-06-04
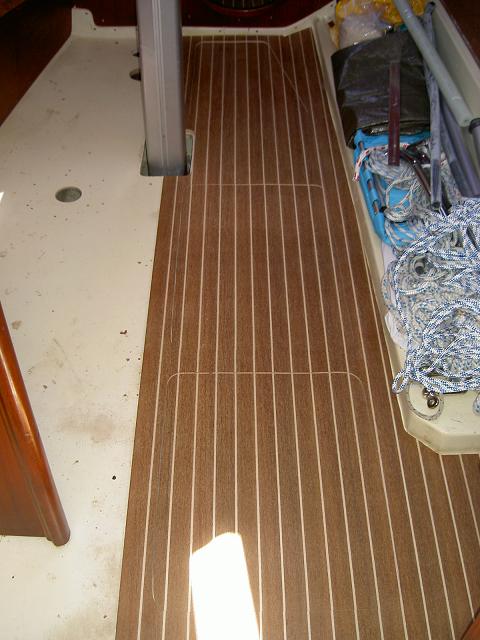
And some more pics...
There are some varnish that floated from the backside. Still to do is to sandpaper with a 320-400 paper (x-fine) and applicate some 3-4 layers of varnish.

2007-06-08
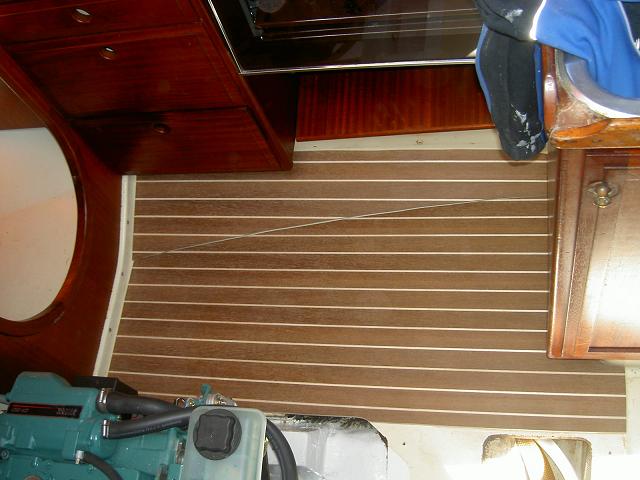
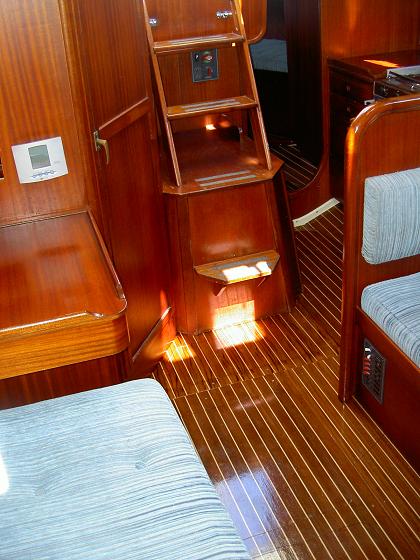
And with three layers of varnisch applied.
Bye the way, I have decided to polish the floor nexte spring and apply a last layer of varnisch then. At the moment I havent done any sandpapering. This because I dont want to empty the boat.
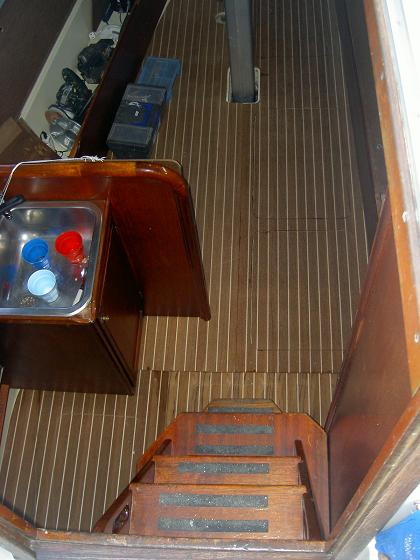
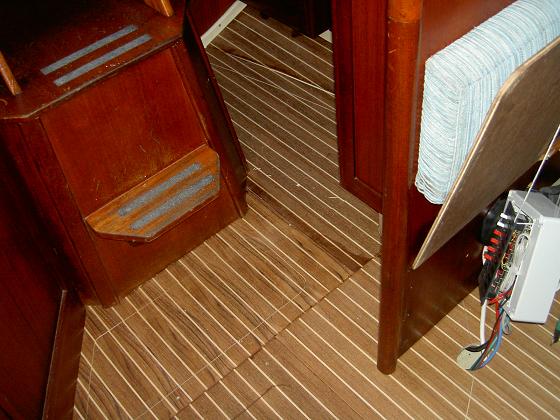
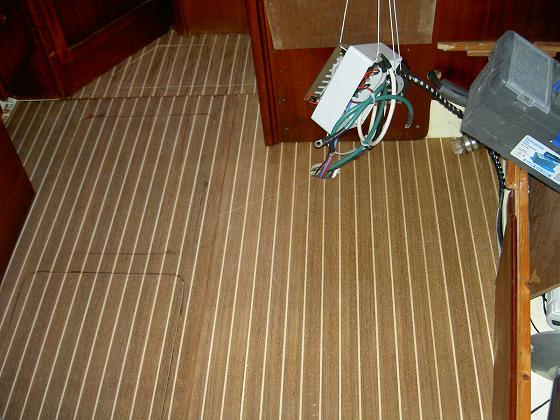
Aft perth.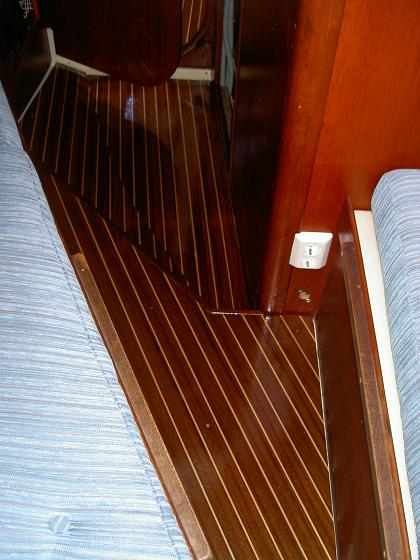
Saloon.
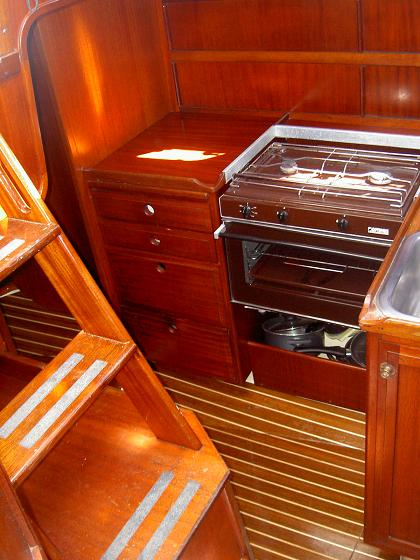
Kitchen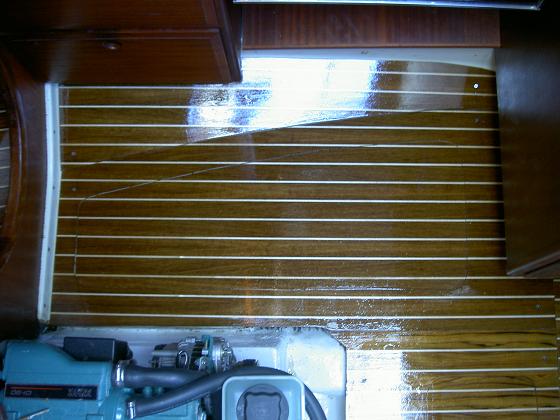
Entré
2007-06-09
Last update, project closed :^D
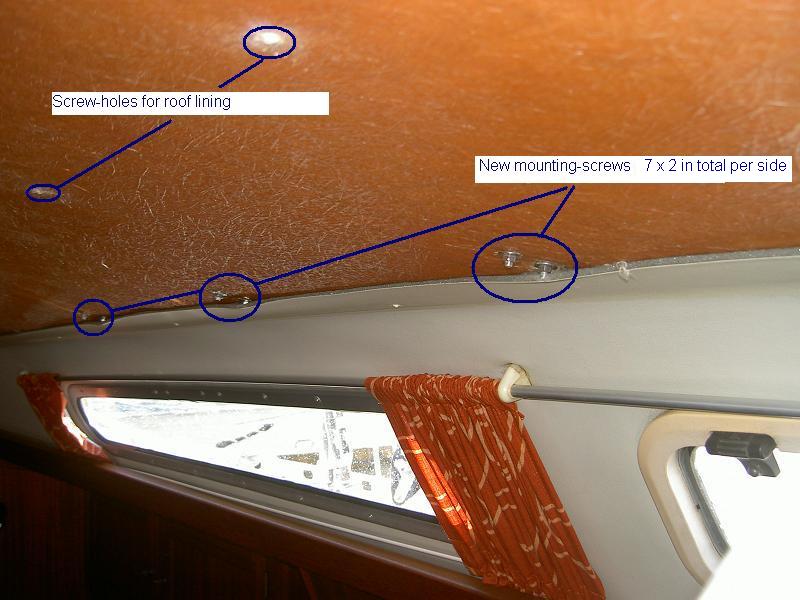
3. Nya grabbräcken 2007:
Replacing the handlebars is almost like a walk in the park, one really good thing with doing it is that I dealt with the small leak throu the roof, wich I knew from the time in Rock Hall , MD that I had.
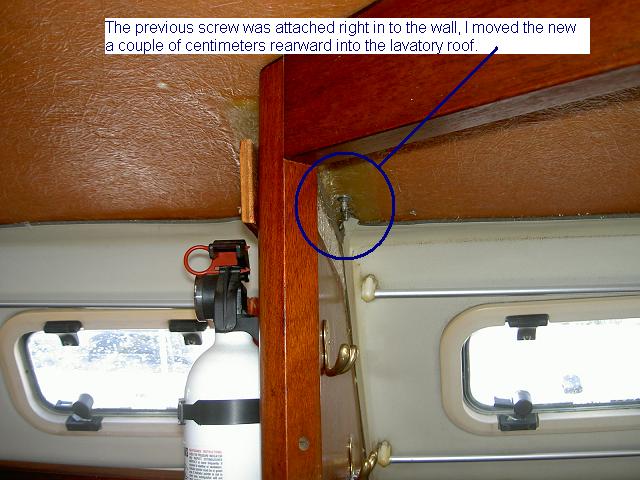
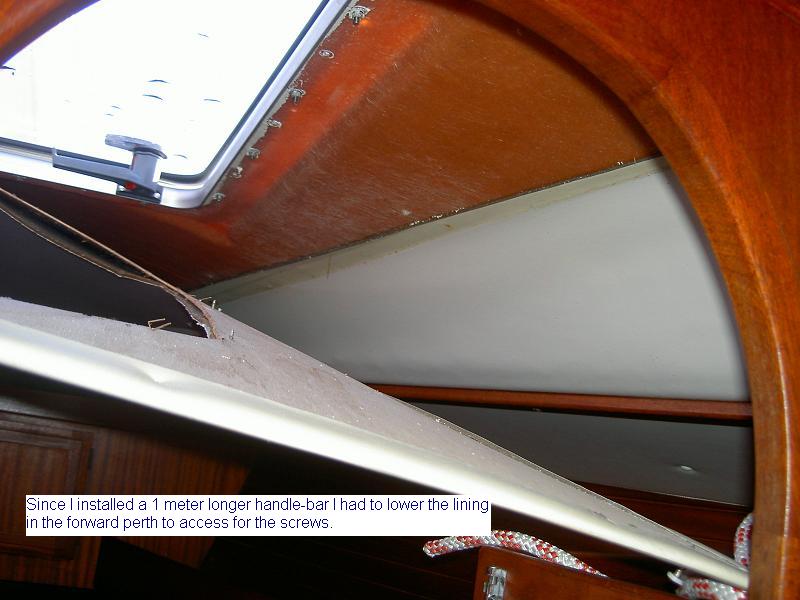
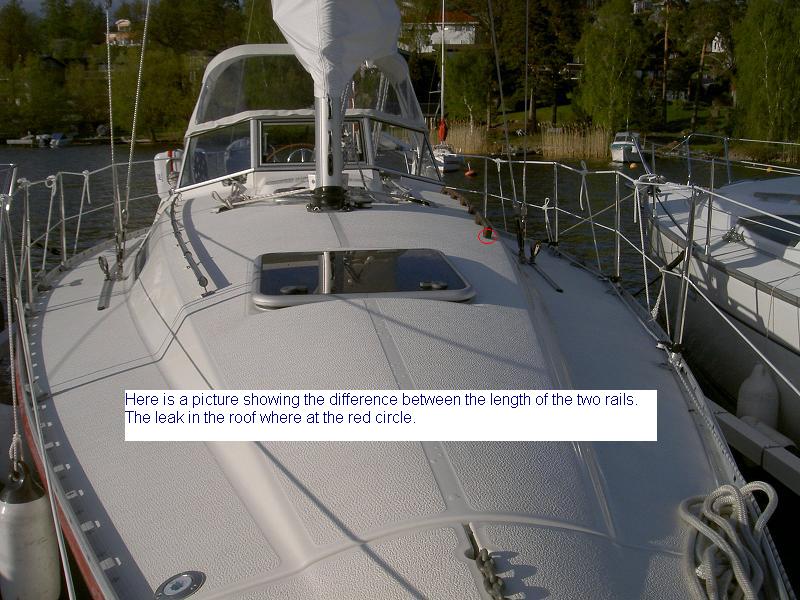
The bottom line with that leak is that a previous owner tried top repair one of the screws (attached from the inside) securing the port handlebar, its most forward point. Instead of lowering the internal roof they tried to, from the outside, drill a knew screw (from the outside). This is not recomendeda method when you have a deck of sandwich-type. This leading to that new screw lost its grip "pretty soon". This leading to a leak.
Here are some pics, take care.